Why I Built This
This project started as something simple: I wanted to build a toy for my kids. A real, walking, six-legged robot they could hold, control, and be genuinely excited about.
But as it grew across three generations — through underpowered servos, violent jitter, and a complete chassis redesign — it became something more. Hexapod Mochi is now a platform I hope my kids will one day use to learn the skills that matter: 3D printing, electronics, coding, and the engineering mindset of iterating until something actually works.
Every design flaw, every failed prototype, and every hard-won fix is part of the story. That’s the whole point.
The Foundation
The Ambitious Baseline
Every great robotics project begins with a simple question: Can I make this move smoothly? The first version was a proof of concept to test leg geometry and basic multi-directional locomotion.
Physics caught up quickly. Built around standard MG90S micro servos, the robot was fighting an uphill battle — the servos were simply too weak for the combined weight and dynamic forces of walking. The internal wiring layout was clunky and prone to tangling.

The Quest for Power
The Battle Against Jitter
To solve v1’s power deficit, v2 took a brute-force approach. The system was upgraded to support either a Raspberry Pi Pico or an ESP32, and the legs were completely redesigned to house beefier 21g servos.
In practice, high-quality 21g servos proved frustratingly difficult to source. Sub-par components caused a massive problem: terrible, violent jittering. The robot had the power to lift itself but spent more time shaking than walking.
Refinement & Redesign
Form, Function, and the Perfect Fit
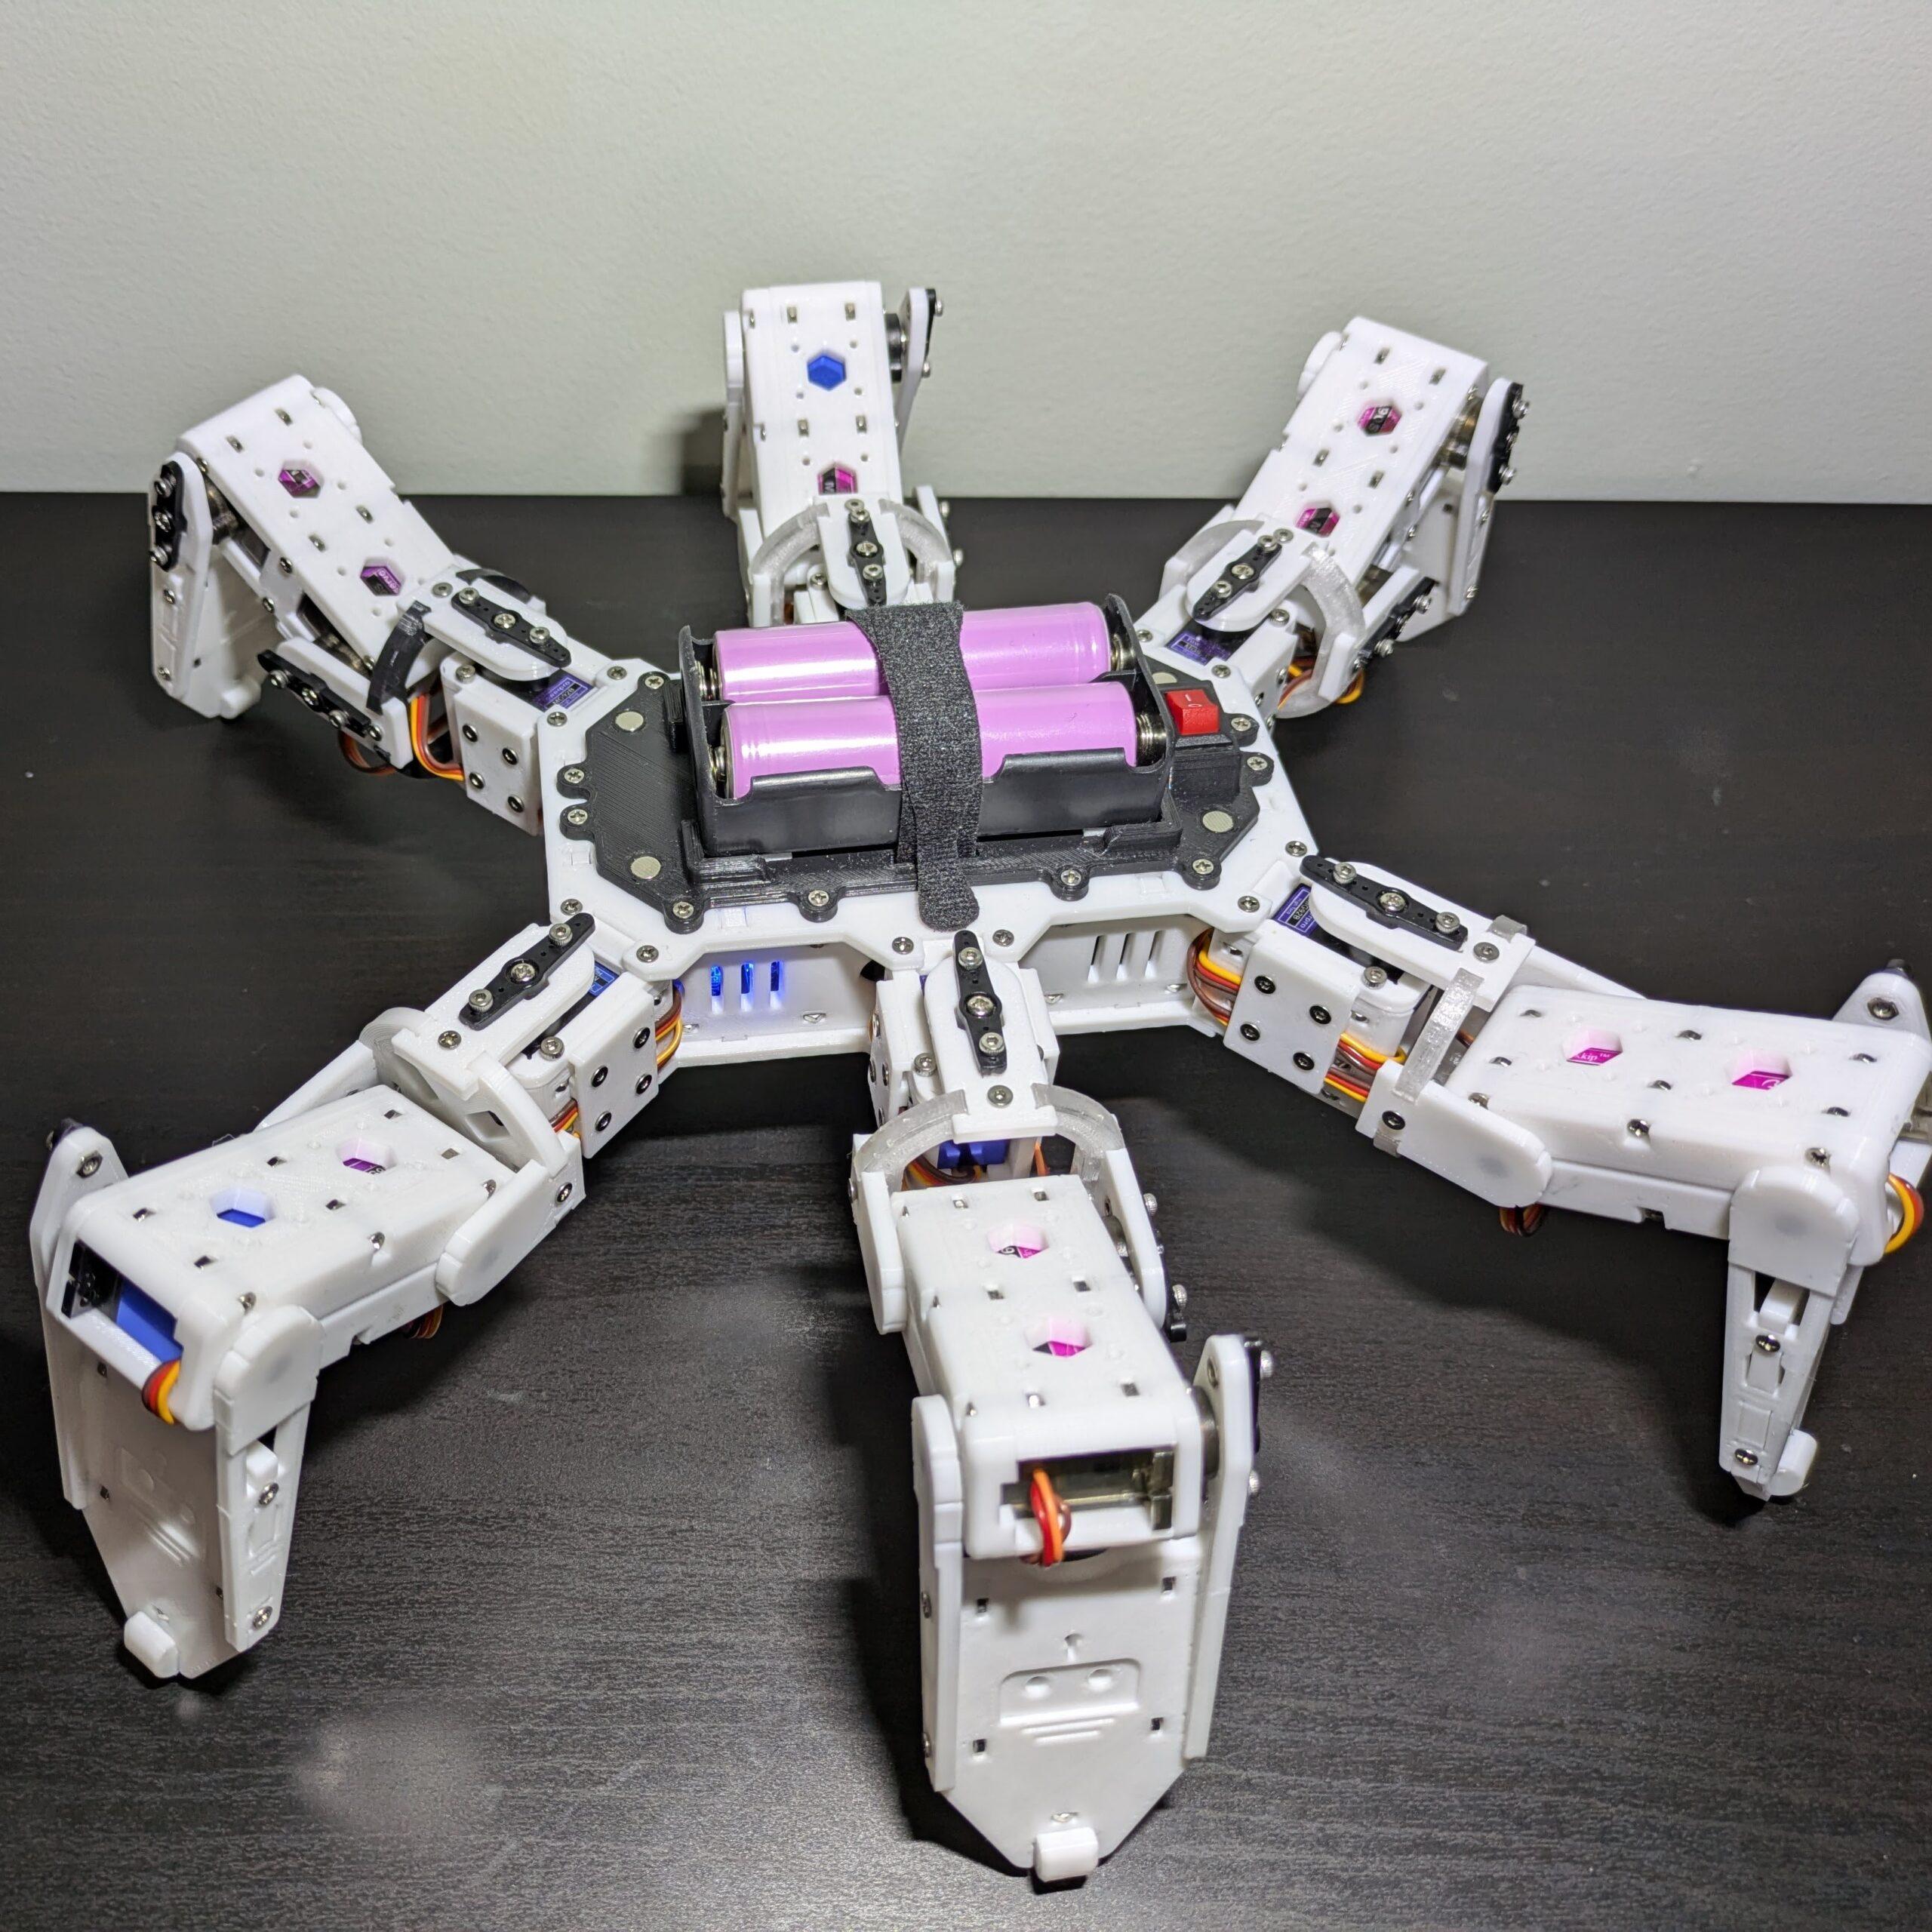
The breakthrough came with the MG92B servo — the strongest micro servo available that still fits a compact form factor. It delivers high torque without the massive footprint or violent jitter of v2.
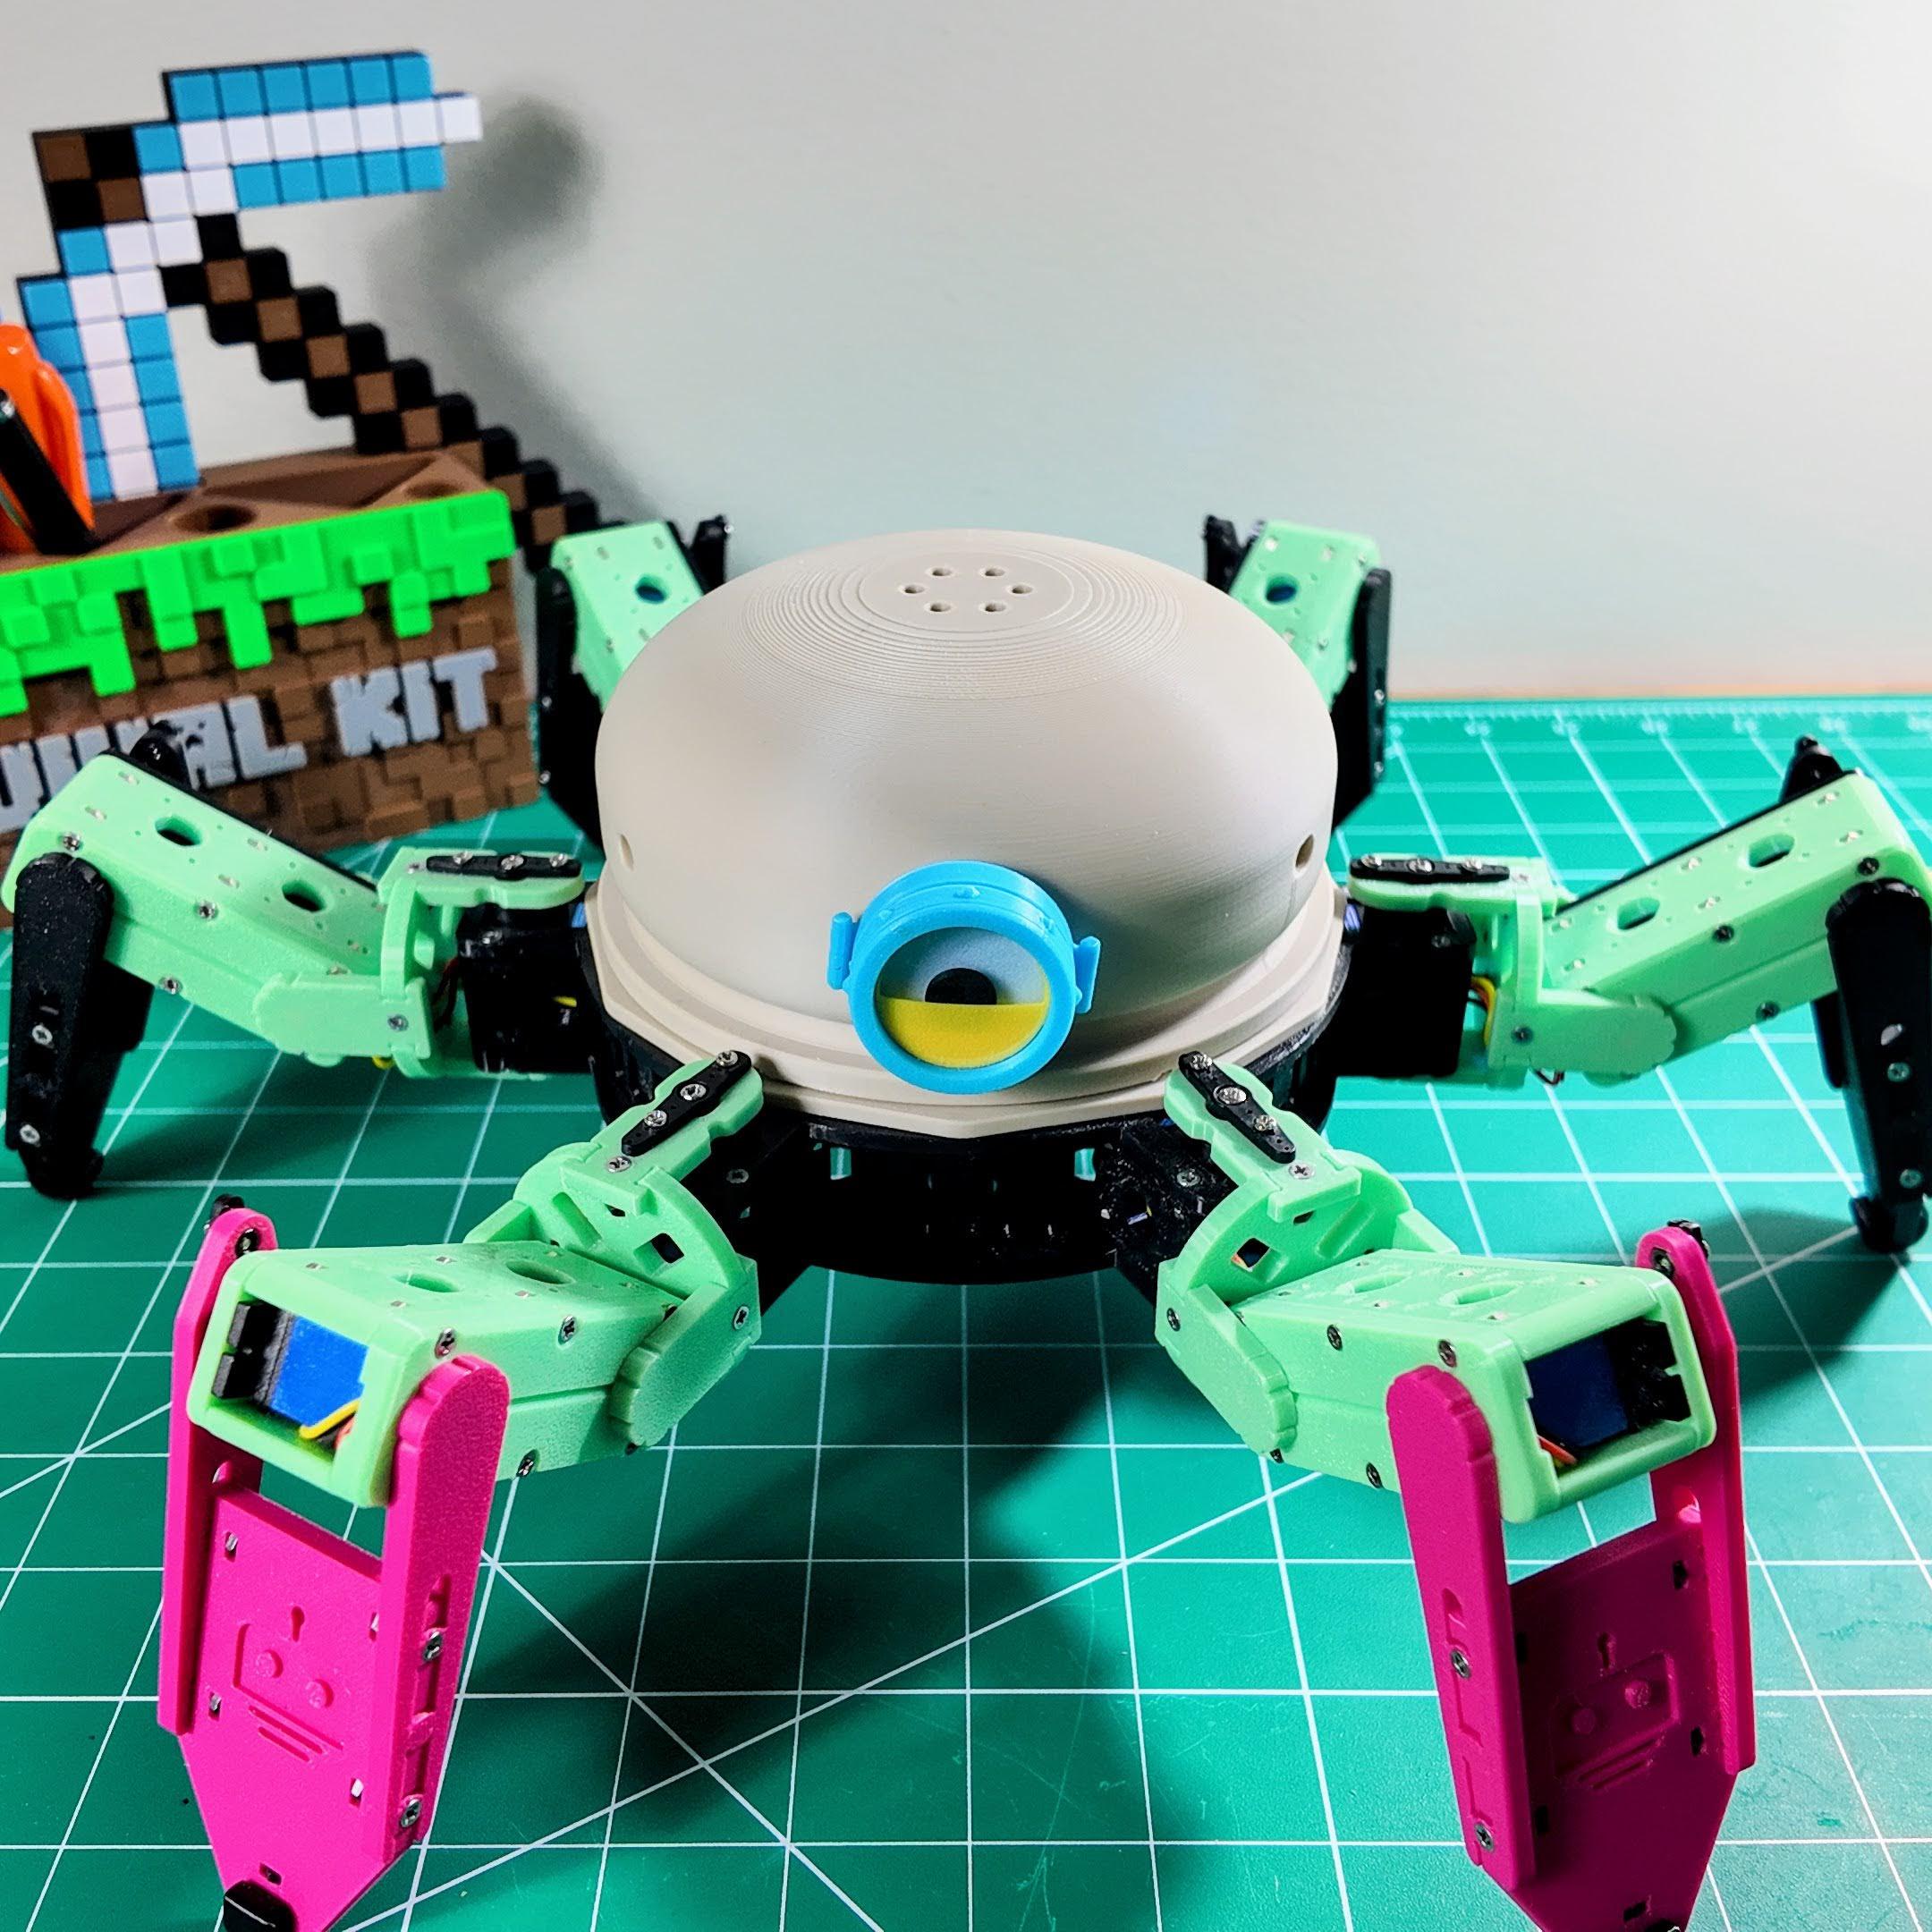
With hardware dialed in, the chassis was radically transformed. The rectangular body gave way to a sleek circular layout, improving symmetry, multidirectional leg clearance, and lending the robot a distinctly friendly personality. Meet Mochi.
📚 Build Your Own – Mochi
Everything you need to 3D print, assemble, wire, and calibrate your Mochi hexapod is now consolidated into one comprehensive, step-by-step build guide.
📖 Read the Full Build GuideHexapod Macaroon
Something Bigger Is Coming
Version 4 is currently in development. Based on everything learned across three generations, Macaroon will push the limits further — smarter control, refined mechanics, and even more character.
Follow along on RookiDroid for updates as the build progresses.
⚙️ Design Philosophy
Mochi is a six-legged, WiFi-enabled crawler with 18 degrees of freedom and a circular body that balances weight, simplifies wiring, and improves stability. Driven by an ESP32 over a built-in WiFi access point, it supports over-the-air firmware updates and full gait customization. Every structural decision was deliberate.
Layer Orientation
Print layers align with load directions, distributing stress along their length to prevent delamination under walking forces.
Reinforced Joints
Leg segments and servo mounts feature strengthened connection points that spread loads and minimize stress concentrations.
Circular Frame
The round body optimizes the weight-to-rigidity ratio for stable locomotion and even servo load distribution across all six legs.
Modular Assembly
Interlocking components reduce adhesive dependency and make repairs or upgrades straightforward without specialized tools.
Material Flexibility
Geometry is optimized to perform reliably with standard PLA or PETG, maintaining durability under repeated dynamic stress.
Full Control Stack
Includes a BOM, wiring diagrams, gait look-up tables, path generation tools, and an Android app for point-and-go control.
Hello, i have read about your hexapod project and i found it quite interesting and want to build one to help myself learn. But while procuring materials i have failed to understand what type of servo motor you used. I have read it was TowerPro MG92B, but is it a continuous servo motor or standard servo motor?
Would be really grateful if you could reply
It is a standard servo motor
Hi, I was working on building something like this and I’ve noticed the github repo has been deleted. Would you be able to provide access to the instructions perchance?
Here is the new link: https://github.com/rookidroid/hexapod
Hi Zhengyu, this is a really interesting project, and I think I got all I need to complete this hexapod! It’s a sort of puzzle to understand some part of the hardware, but this is also part of the fun! I think i’ll figure out while I build, but if you can guide me where to put the bearings, the pins, and the 6mm 2m screw it will be great! thanks again!
The bearings will be in the holes of “body_base” and “leg_bottom”. The pins go with “joint_bottom” and “foot_bottom”. 6mm M2 screws are used to attach servo horns to “joint_top” and “foot_top”.
Thanks a lot Zhenghy! Everything fit like a glove! I’m still waiting for the battery to arrive but in those days I’ll do the electronics!
I tried to figure out the correct calibration for the leg (part 2servos). I think at 0 it should be all retracted and at maximum all extended., is it right? (i’m using a “CCPM servo costintency master” that it’s a very cheap useful tool for servo testing)
for the body_base servos should they stay at center in neutral position? I’ll send you picture of the make on thingiverse!
So for the calibration position, all the servos should be at 90 deg position, and the legs should be horizontal and the feet are perpendicular to the ground. I will make a photo of this later.
Hi Zhengyu. I was building your hexapod project and almost done with a liitle modification. I follow your instruction but i didn’t see any diagram showing the position of each servo connecting to the PCA9685. Can u share ? Also is there a coding for the joystick controller, i can’t find it on your github location you mention. Thank you.
The connection is actually in the Arduino code: https://github.com/rookidroid/hexapod/blob/v1/software/hexapod_arduino/config.h
At line 67-72, you can adjust it based on your own connections.
The remote controller repo is here: https://github.com/rookidroid/remote-arcade
Hi . I’m building your hexapod and following your instruction. But do you include the coding for the joystick remote control ? I can’t find it on the github. Can you share it. Also there isn’t any diagram for connecting the servo’s to the PCA9685. Can anyone help ? Thank you.
Please check the GitHub repo: https://github.com/rookidroid/hexapod
The remote controller repo is here: https://github.com/rookidroid/remote-arcade
I am also working on a new version of the Hexapod with several improvements. I will update the repo soon.